Books: Behind the Scene
September 6, 2025 ◇ 5 min read
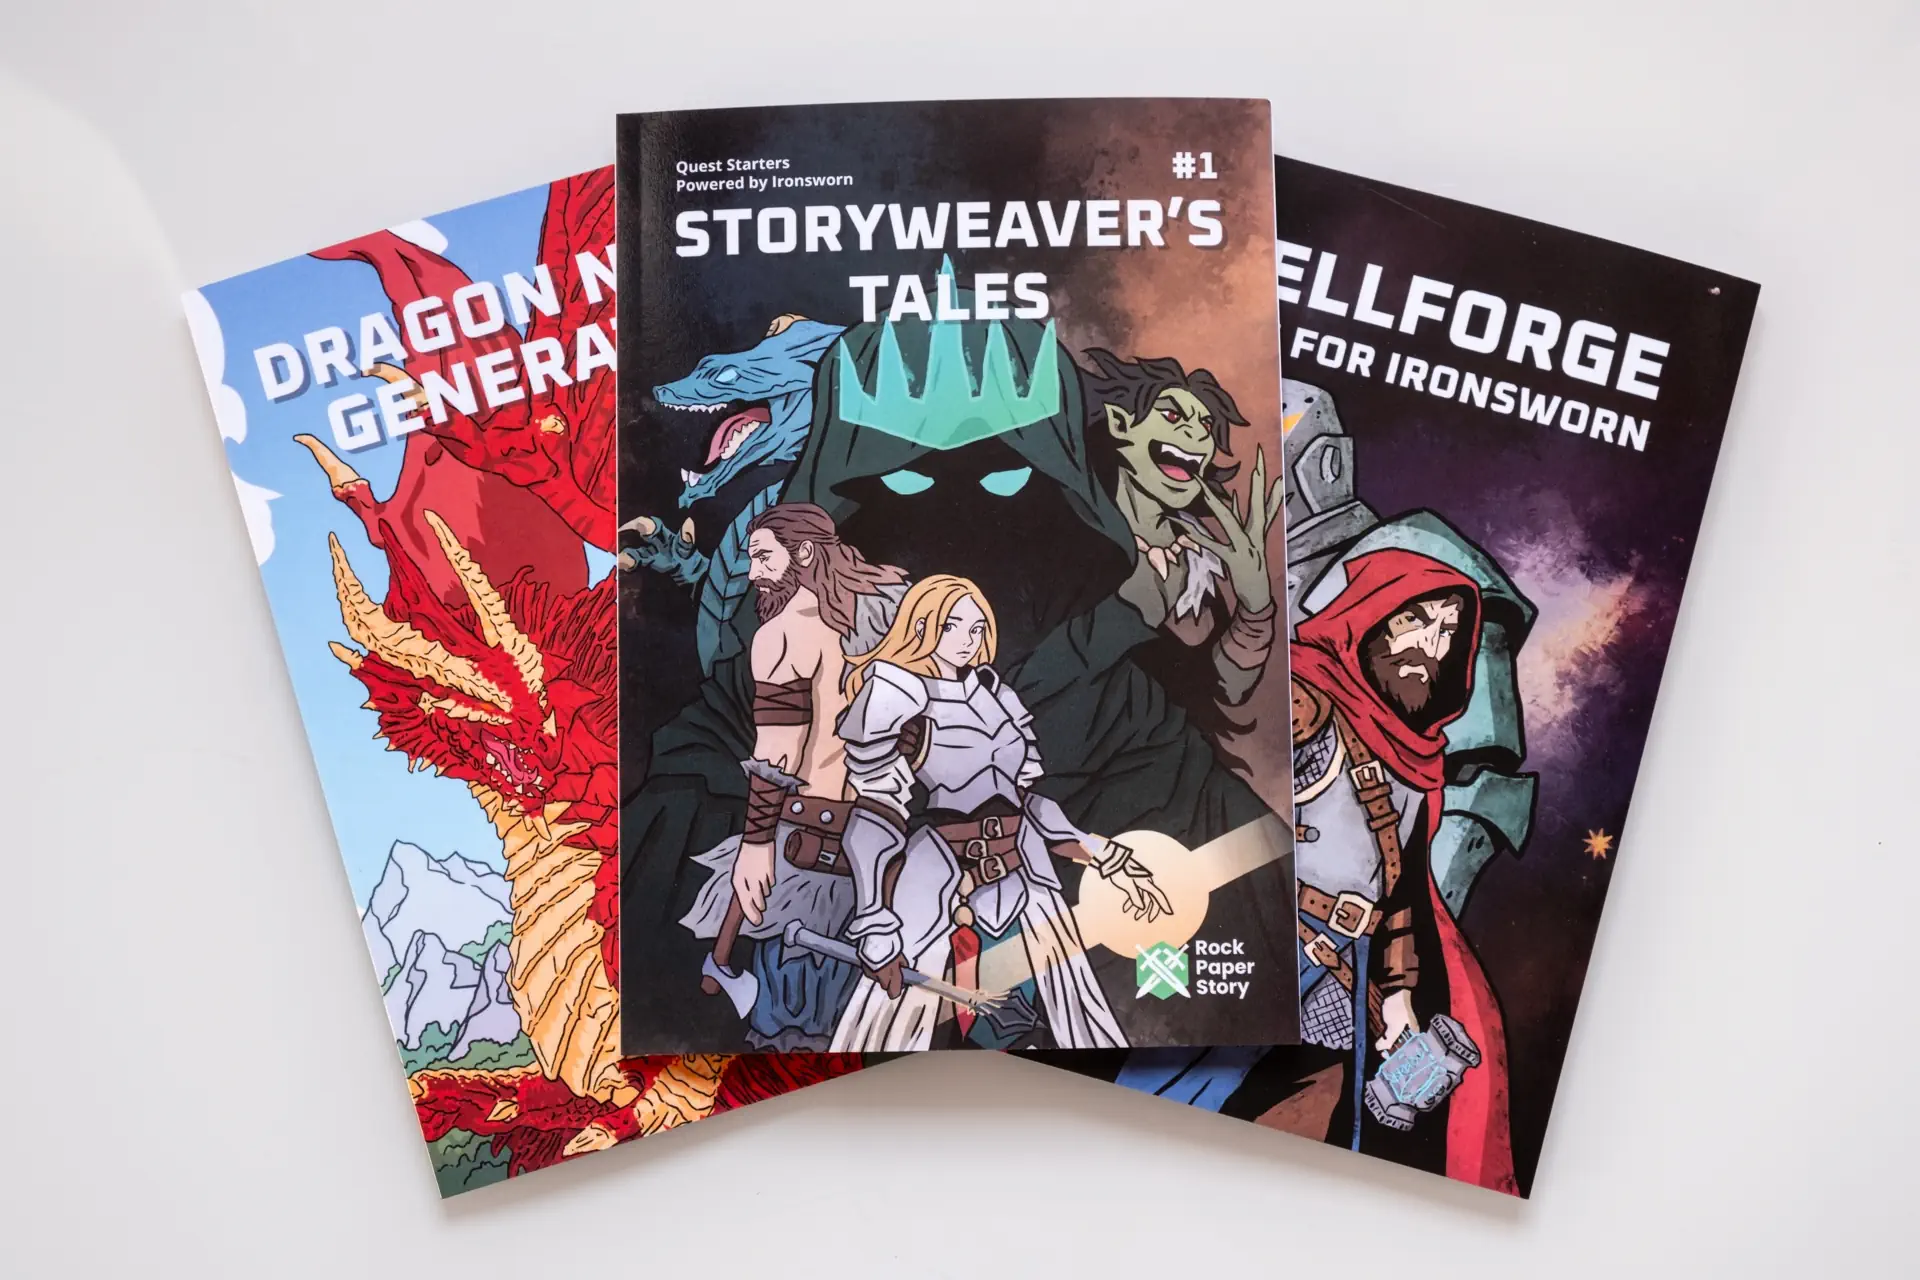

It has been over a year since I published Spellforge: Magic for Ironsworn, and with my most recent collection of Quest Starters in Storyweaver's Tales, I thought it would be fun to write something about the whole process. Not exactly a guide, but I hope it will still be helpful to those interested in publishing their own material.
Concept
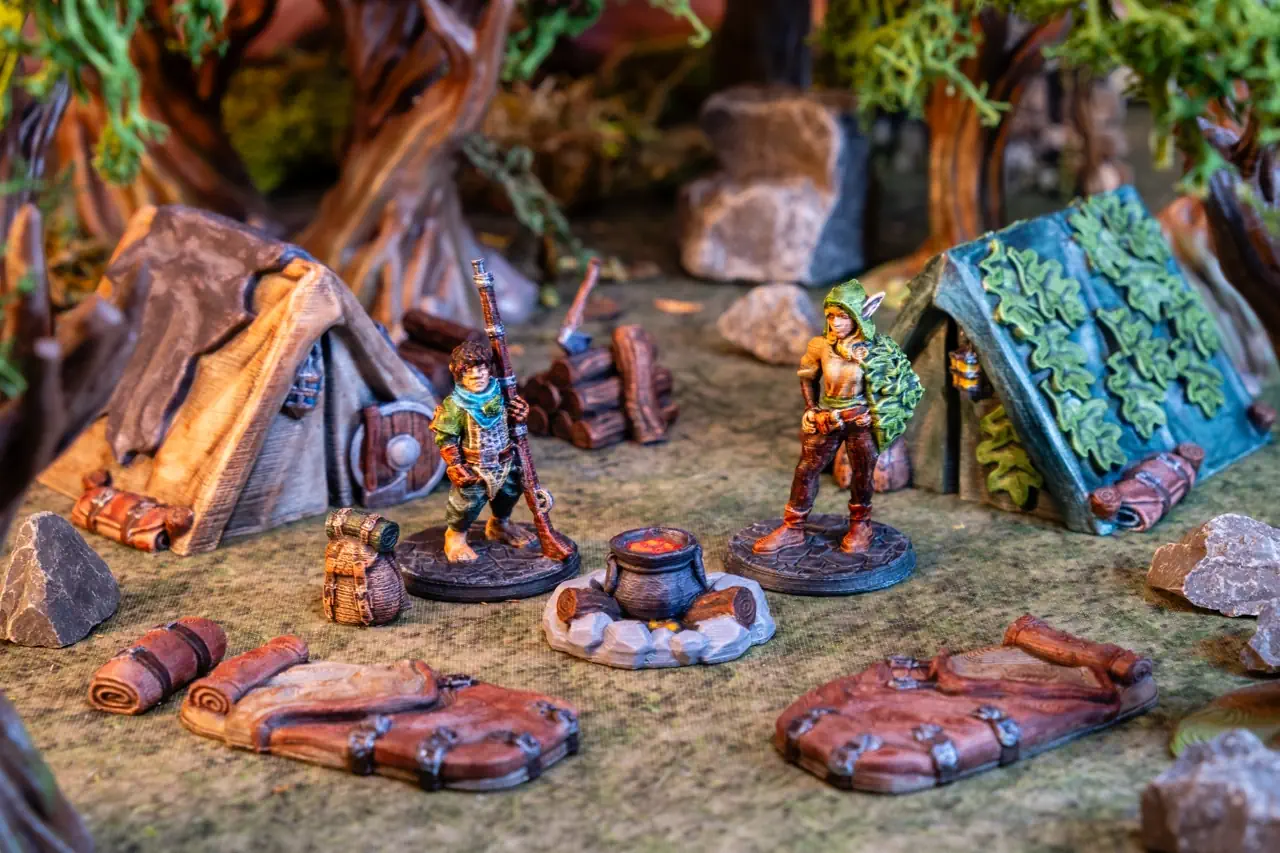
Spellforge started as a blog post, Magic in Ironsworn. I was looking for a way to include more magic in Ironsworn that would not force me to use third-party mechanics or systems and I wanted it to be as simple and easy as possible. All the fun, none of the math or tinkering. Then I thought, why not make it a book? Then I thought, why not make it a book? It would be easier to find than some niche blog. And if it was a book, I could add even more fun stuff, so I started thinking about custom Assets (Spellsinger, Spellweaver, Court Mage, Warmage and Druid) and Quest Starters as a way to easily begin using the new assets. I enjoyed creating Quest Starters so much that I started to do it regularly, and they are now all available for free on my Patreon, or, if you want a collected edition, in Storyweaver's Tales. I also made the Dragon Name Generator when I needed to come up with a good dragon name in one of my campaigns. Just recently, I updated it with its own dragon-themed Quest Starter and made it available for print on demand as well.
Tools
Since this is a hobby project, I wanted to keep the process free for as long as possible. For the first version of Spellforge, I decided to use Scribus and free images from itch.io asset packs and sites like Freepik. Generating PDFs would probably work with MS Word or LibreOffice Writer, but I thought that learning more about book publishing would not hurt. For all my graphic work, such as page decorations or the book cover, I used Krita, an amazing and free Photoshop alternative.
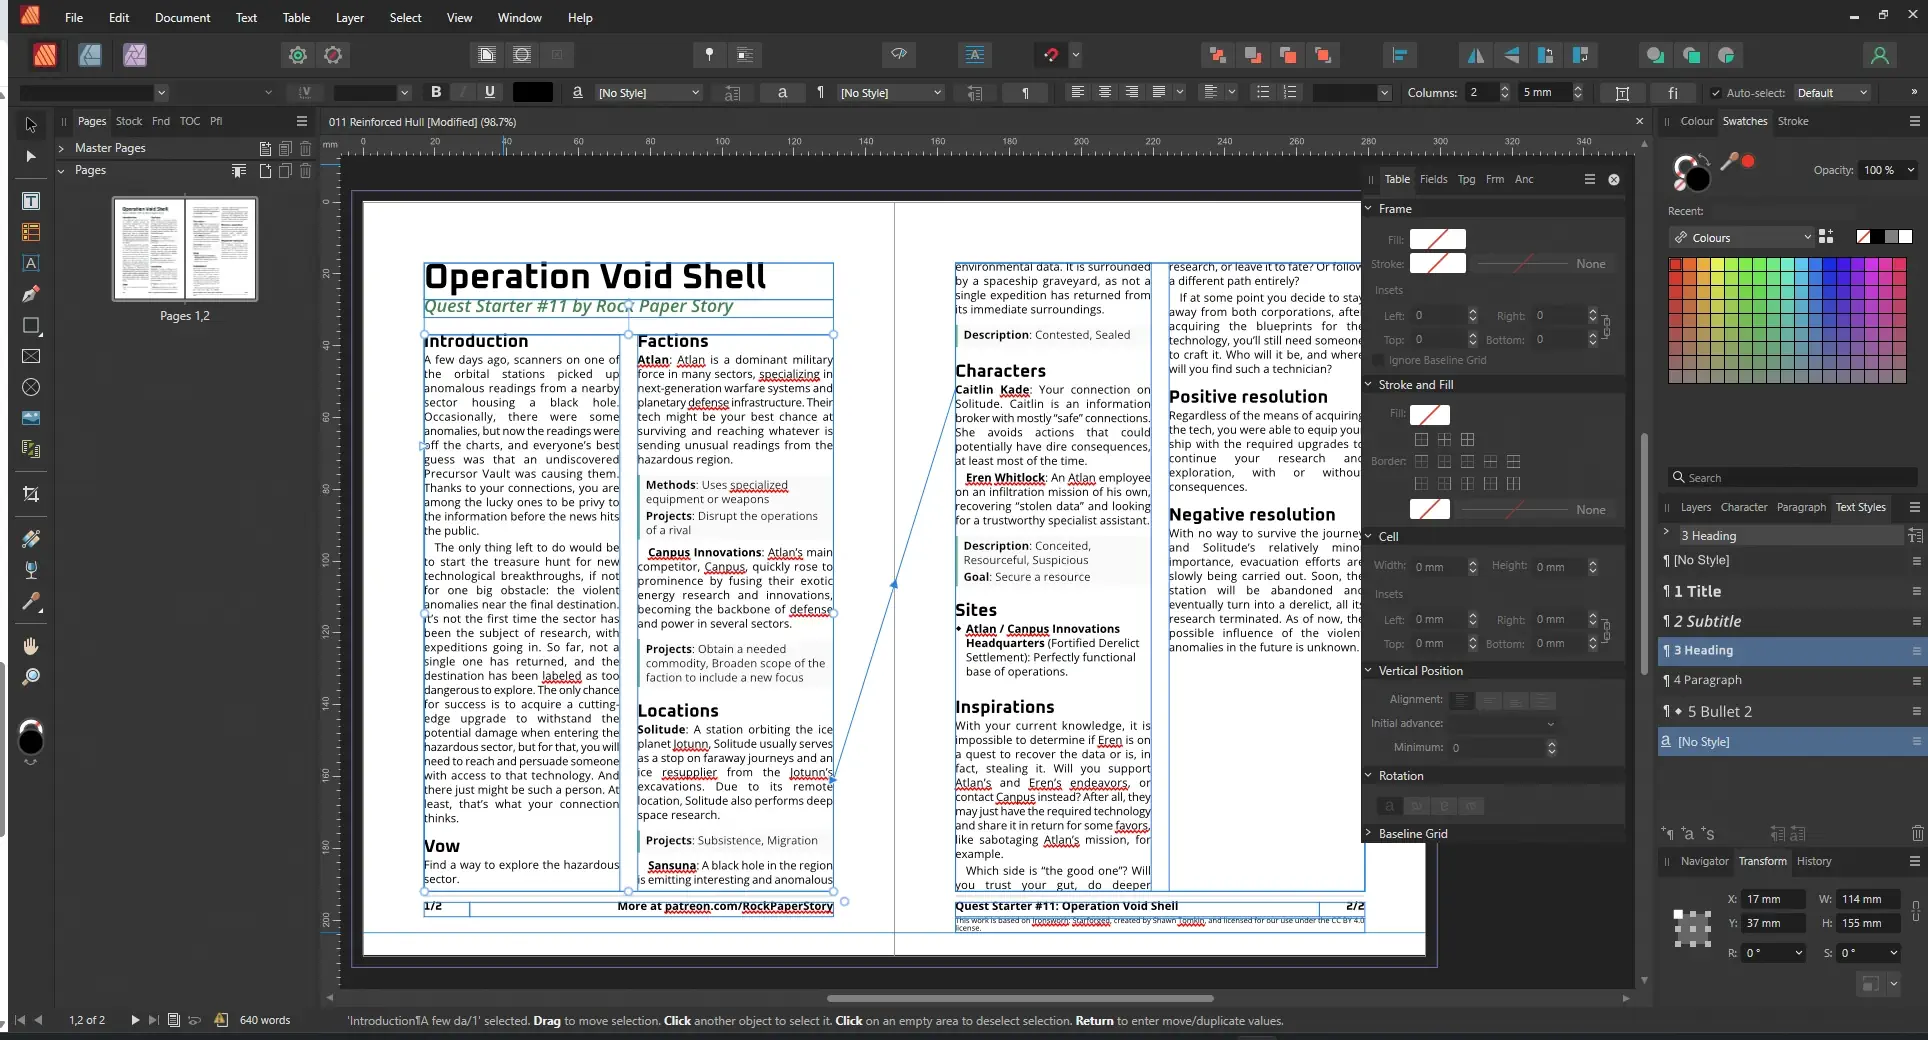
Once things gained some momentum, thanks to all my Patrons (Thank you so much for all the support!), I switched to Affinity Publisher (if possible, look for seasonal discounts such as Black Friday), since DriveThruRPG requires the use of Affinity Publisher or InDesign for print-on-demand books. This looked complex at first, but was really easy to set up with Affinity Publisher. I must admit, working in Affinity Publisher is much more comfortable and easier. The app looks great too. The last tool I am using is jpdftweak to fix pages in PDF files, so when you type desired page in Acrobat Reader, you are taken to the correct page in the PDF and not somewhere further on because of the book cover, for example.
Working with text
I use two websites regularly: The Merriam-Webster Thesaurus and Thesaurus.com. At first, I spent a lot of time looking for words and synonyms, trying to give my texts more unique character. Over time, I noticed a gradual improvement. I remember the synonyms I used before, make fewer errors, and find the whole writing process much easier. If you're thinking about getting more into writing, don't be discouraged when it's challenging at first! For grammar checks, I switch between multiple online grammar tools and compare results to catch as many errors as possible.
Creating images
With the new book coming out, I wanted to switch from free assets to my own drawings. While I have a basic art education, I would not call myself an artist or an illustrator, but just like with writing, I believe that over time I will get a little better. I knew from the start that at this point, no matter how much time I spent on the drawings, they would still look amateurish, so I placed a hard limit of two days per image, one day if possible. To make the process as fast as possible, I used a common practice from my old student days: photobashing, to create easily adjustable concept art to use as a reference for the drawing. This way, I can test multiple scenes in a matter of seconds or minutes without wasting time drawing something I might not necessarily use. It is especially useful when you have a rough scene in mind but cannot quite put it on the canvas. Moving and changing separate pieces without redrawing everything over and over helps a lot.
Next is drawing style, and this one is totally up to personal preference. Again, to make everything as fast as possible, I settled on simple line art, drawing everything gradually, hands, legs, equipment, heads and faces, each on separate layers so I can easily redraw things I do not like without messing up the whole image. Once finished with the line art, it is time to block out everything with random colors (each color on its own separate layer), then paint over the random colors with gradients I feel fit best, and use a specific brush to add some texture. I do not like to complicate things if I really do not have to, so 99% of the time I used eight brushes, which you can see in the image below.
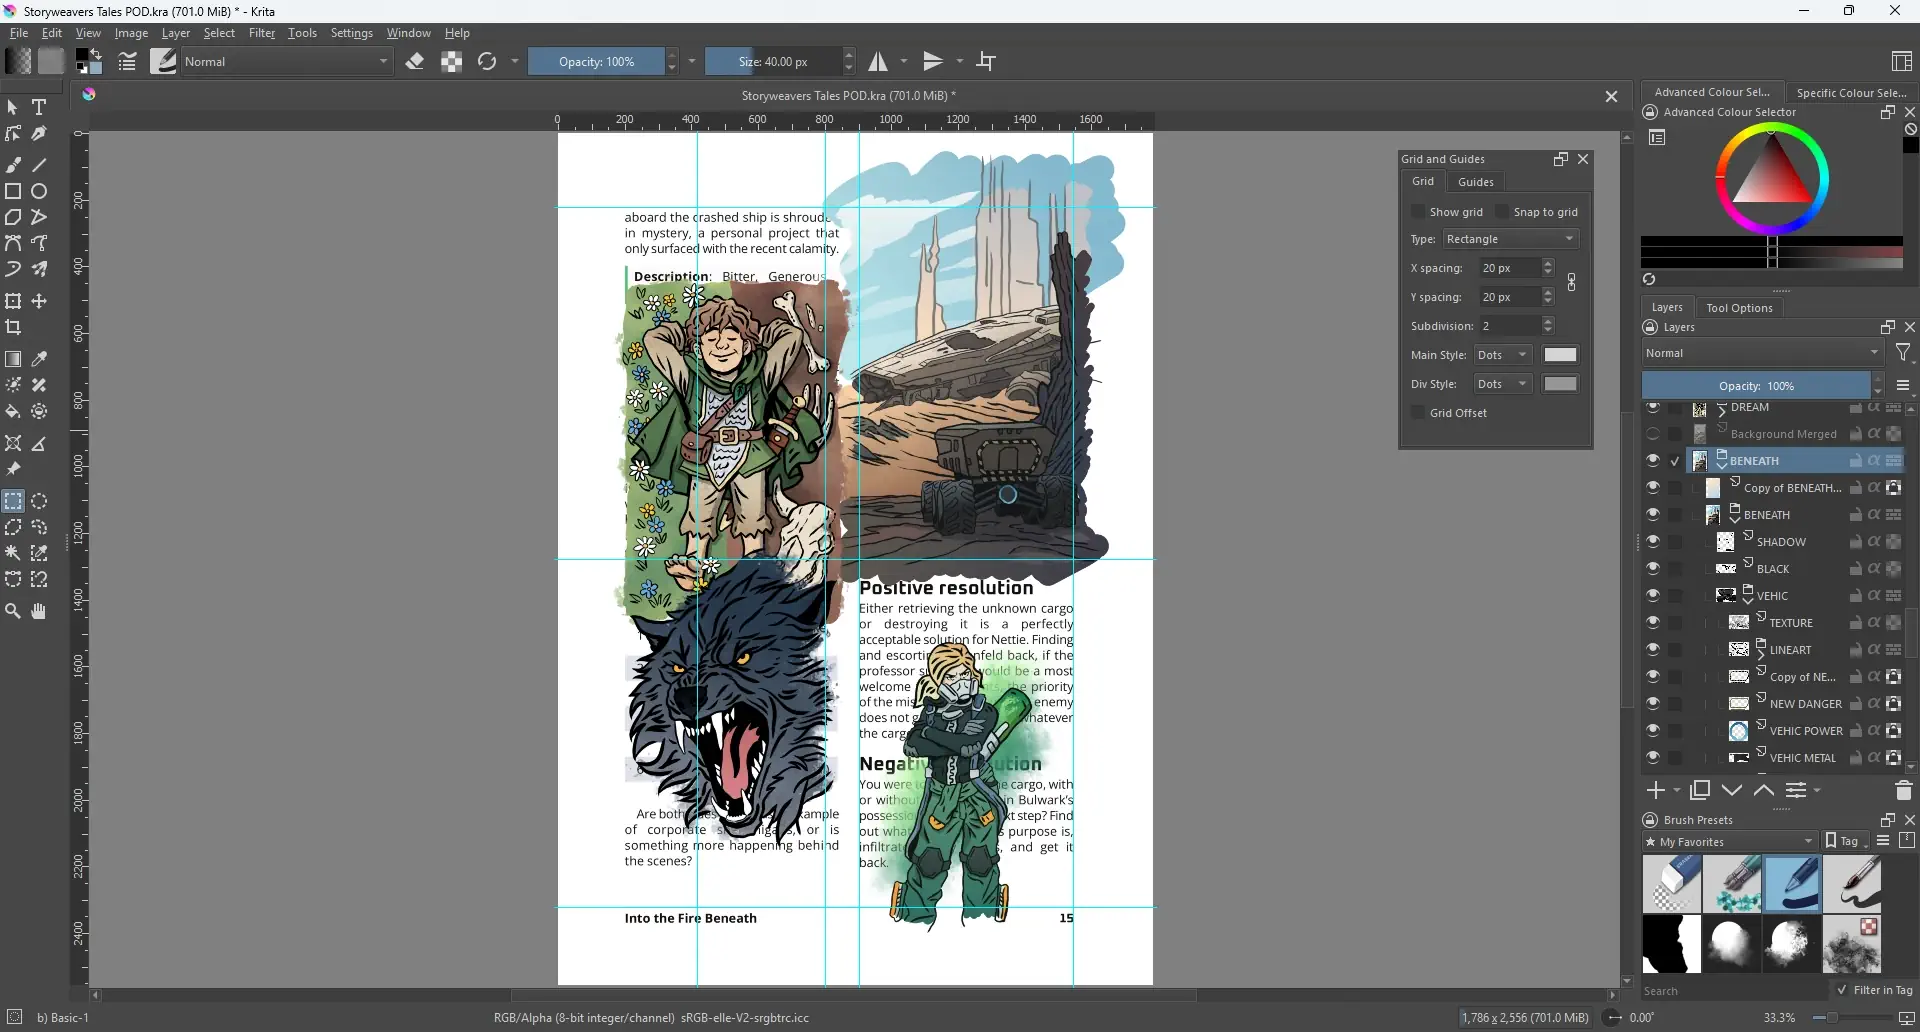
Fast, easy and good enough for me. Once the image is done, I usually place a subtle gradient over the image, colors depend on the scene, to give it a bit of a mood. Like light-blue to blue so the scene "feels cold" or some warm colors to make it feel "warm", for example. The effect is very subtle, but with this the image feels much better, at least to me. The final image might not be an award winning art piece, but with each new book I'll probably improve and get better, even if by only a tiny bit. I also have a new style I'd like to experiment a bit with and try something different with the second Storyweaver's Tales collection, but in case I fail miserably, I'll just stick with the current one. Every single step was done in Krita using a drawing tablet (a very basic one, without screen or any fancy functions).
Uploading and proofing
When the text and images are done, it is time to upload the book, its cover, and order a proof. It was my first time doing that, and I did not want to rush things, so I patiently waited for the printed proofs. And it turns out this really is an important step, once I had the physical books in my hands, I was able to spot errors I had missed, adjust margins I thought would be fine but that did not feel quite right, and notice things that were somehow invisible on the screen because of how long I had been looking at it. I guess it's the change of perspective, still the same content, but somewhat new and fresh.
Once I was happy with the proofs, I hit "Make public" and that was that. If you are considering publishing your own work, go for it. Even if the start is a little rough and complicated, I strongly believe the more RPG content we get, the better.
A lot of work and long hours went into each component: cover, text, images, but as long as there is at least one person enjoying the content, it was totally worth it.